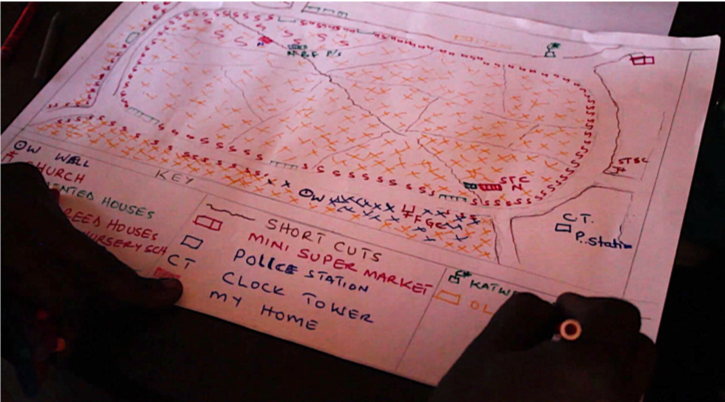
A village map -also called social map or community map- is a perfect way to get to know the area. You ask people who know the research area well -like village leaders or elderly- to draw the research area for you, with the main roads, the houses, social services, shops et cetera. Added bonus is that while people draw, you can ask all kinds of questions about it which gives you extra information about the good and the bad, the challenges and the opportunities in the community. Thus, it may give you insight in important factors that interlink with the subject of your PAR that help you decide upon the focus points of your research.
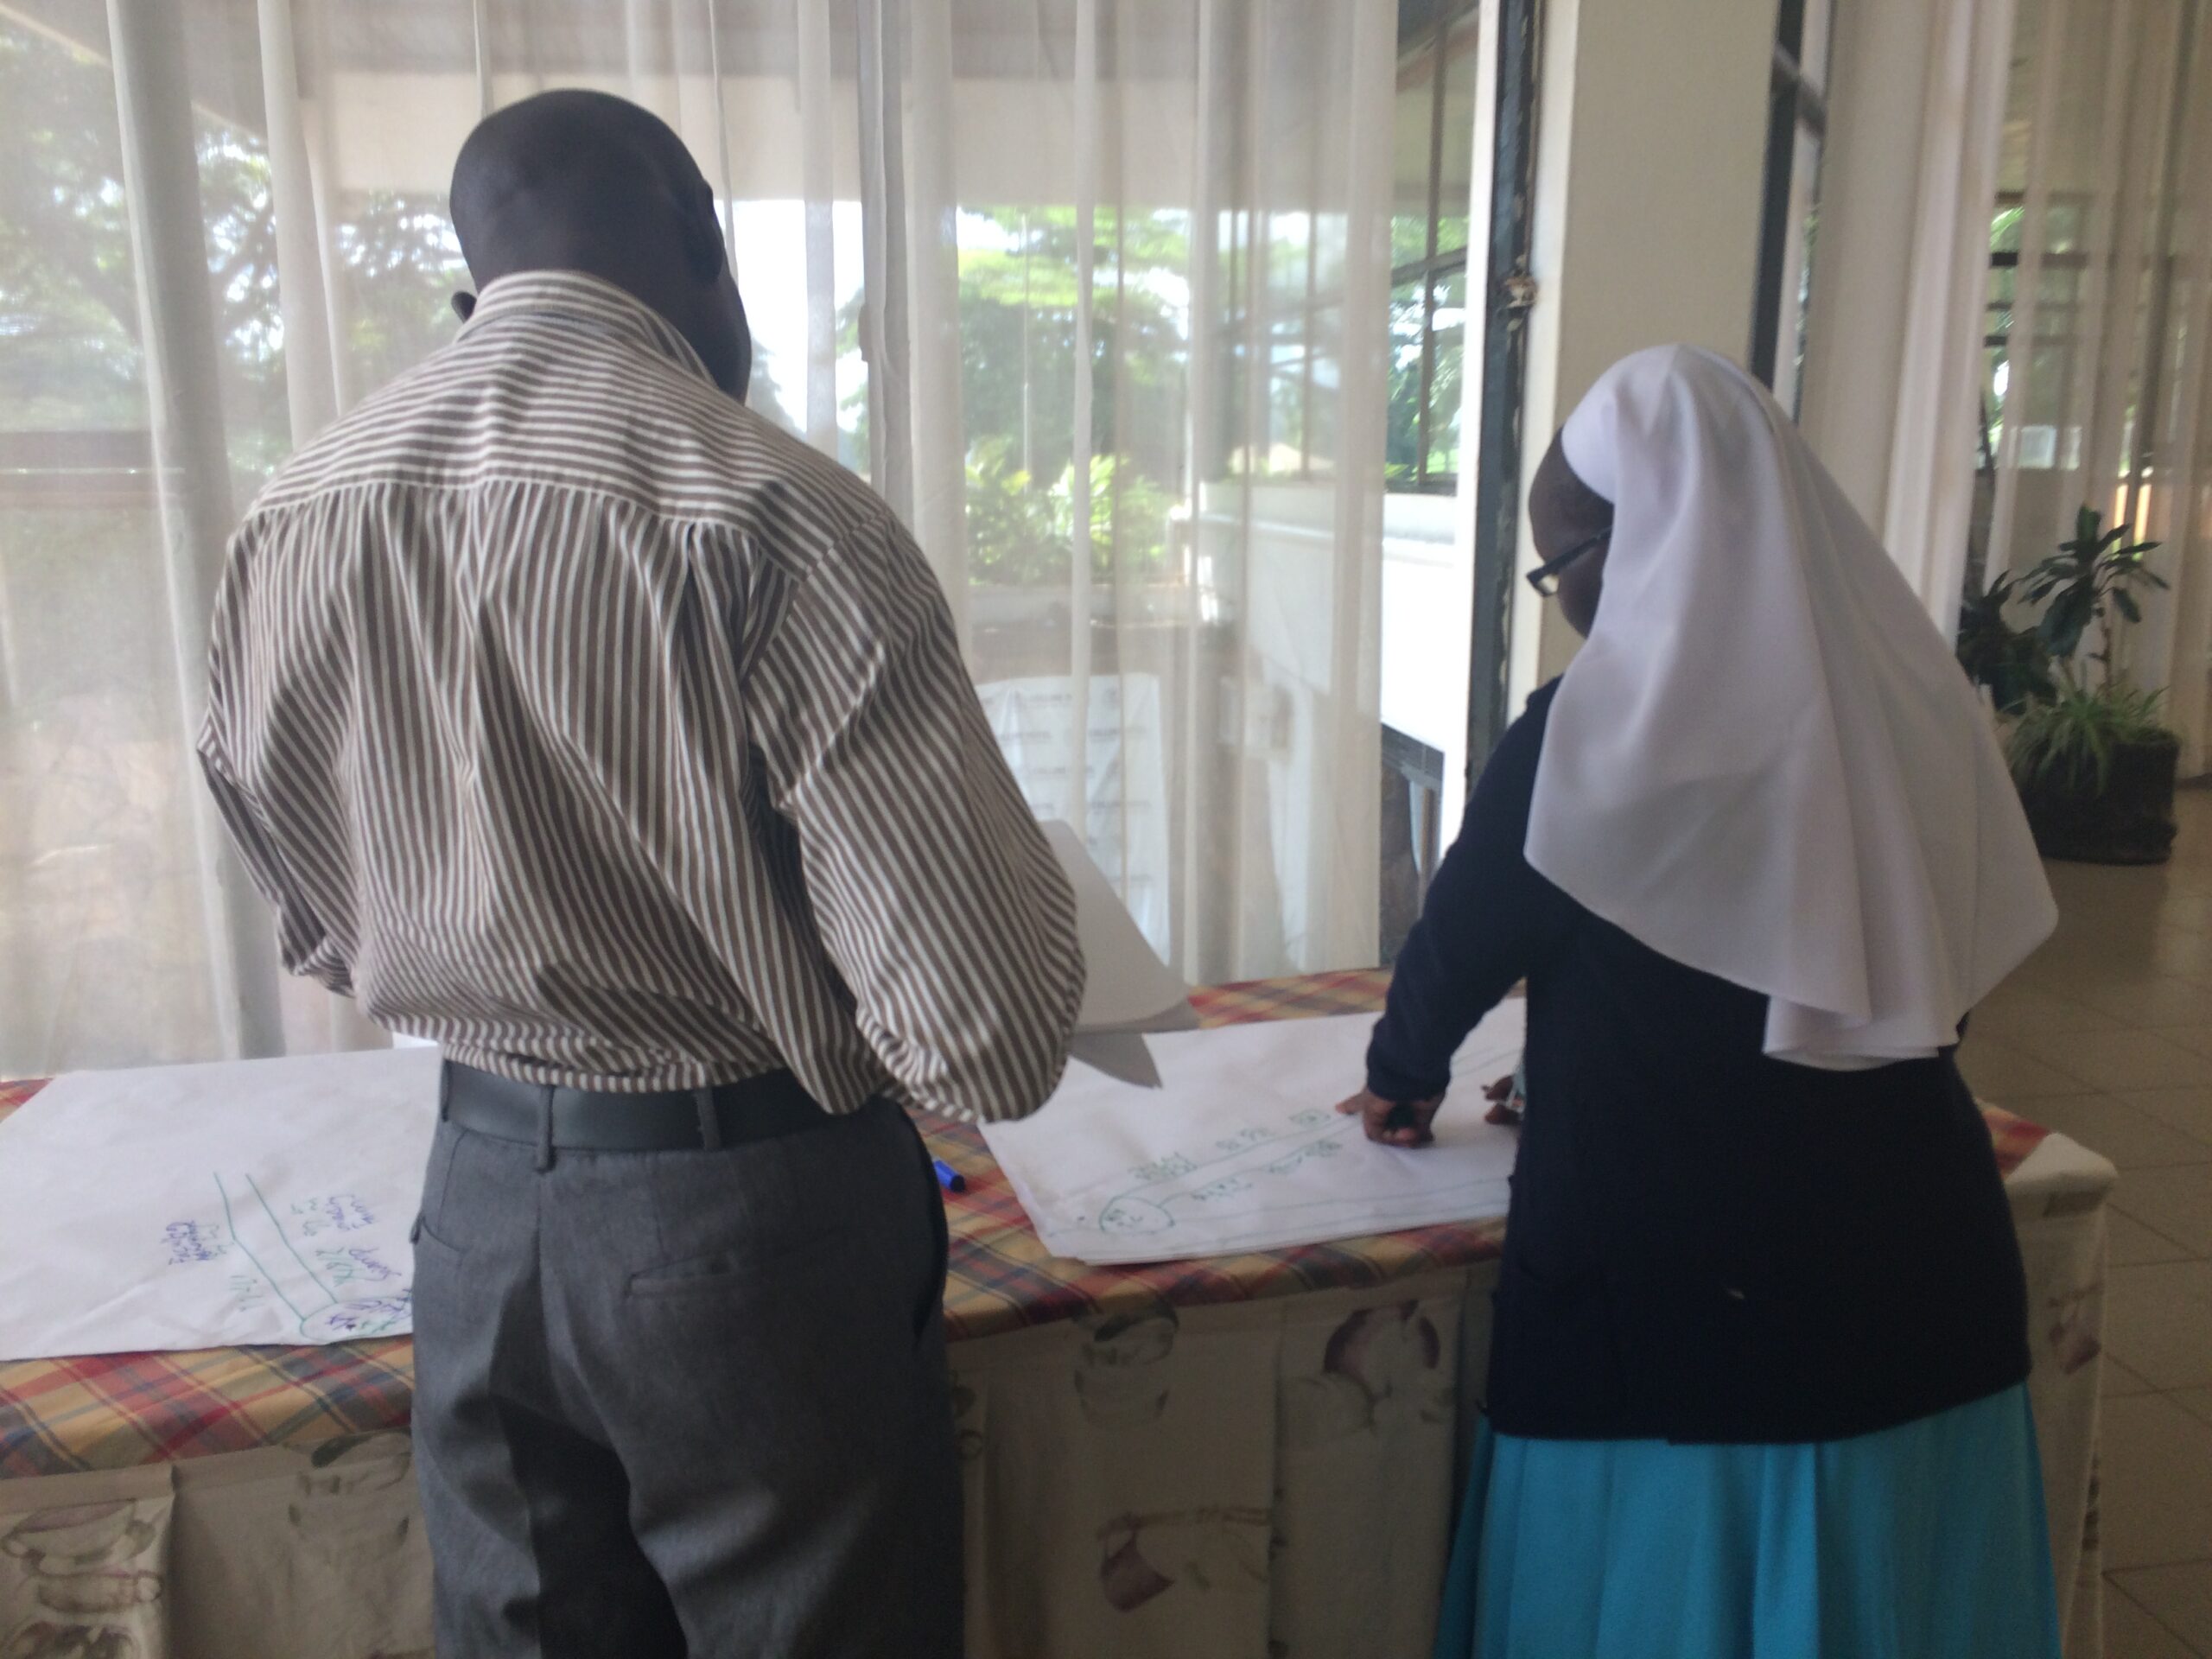
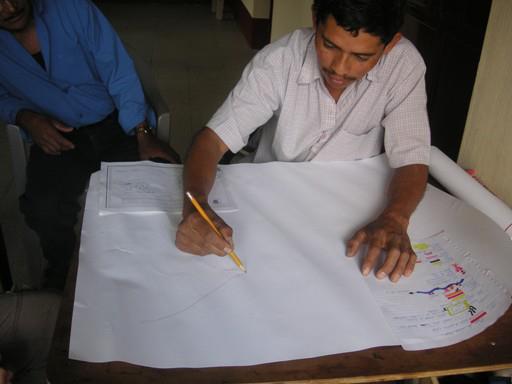
Village mapping with a teacher, Kampala, Uganda
Depending on your PAR goals, you can choose different types of maps, such as historical maps -to gain insight in how a situation used to be- or comparison maps -e.g. to map out the current situation vs the desired situation, or to compare between different stakeholder groups like men/women or NGO/beneficiary et cetera. The opportunities are endless. For purposes of orientation into your Participatory Action Research however, the good old Village Map most often suffices. A Village Map says much, but don’t forget to make extra notes on what people tell you during the process. On our YouTube channel there is a video lecture about Village Mapping which explains more in detail how you can set up and conduct such Village Map method and shows a real-life Village Mapping method performed in a slum in Kampala, Uganda.
When to use
- When the area in which the PAR will take place is yet unknown by the action researcher
- When area boundaries are yet unclear
- When you want to know more about the area’s facilities, assets, challenges and opportunities from the perspective of participants.
- When you want to compare people’s views on the area (more Village Maps needed for comparison)
- When you want to know what the area used to be like (Historical Map)
- When you want to compare the current situation with the desired situation
Advantages
- It encourages and empowers people to see opportunities within their own community and take action accordingly
- It’s ideal for the Orientation stage of your PAR to get to know the area
- It gives more insight information than ‘just’ interviewing
- Participants usually like this method
- It creates a nice, comfortable and informal atmosphere.
- There are multiple varieties to apply
Disadvantages
- Can become time consuming
- Some type of maps are hard to analyse
- Not always suitable to go in-depth, sometimes an additional interview is needed
How to use
Village Mapping can be done individually or with more respondents simultaneously. See below the steps to take (described for conducting Village Mapping with one participant).
STEP 1: preparation
- Invite one or more participants, explain the purpose of your PAR and explain the method.
- Get your requirements such as paper and crayons.
STEP 2: at the appointment
- Describe the activity, its purpose, and how it will work. Use elements of the introduction of an interview (see interviewing, tab ‘how to use’).
- Start the method. Give the respondent the space to make a start with the drawing. Ask questions about what you notice, only if you feel that there is room for that at that time. If not, save your question for later. Make notes of the answers you receive from the respondent. Ask the respondent to explain different aspects with different colors and, if necessary, to keep a legend explaining the meaning of each element and color from the drawing. Ask to get more in-depth information, just like you would with a semi-structured or unstructured interview.
- When the drawing is finished, reflect on it with the participant.
STEP 3: Ending
- Complete the way you would in an interview. In addition, discuss with your participant (s) whether the Map can also be used for additional research, such as a Transect Walk or focus groups.
- If necessary, if a voice recorder has been used, transcribe the recording for analysis or use your notes for this. Do this as soon as possible after completing the Village Map method.
- Analysis can take place on the Village Maps itself by comparing these with each other, but in PAO it is mainly about the stories and perspectives that were shared when creating the Map.
The maps can be used in a later stage for reflection and analysis with participants if suitable for your PAR.